Installing Proxmox
Proxmox is a type-1 (also known as bare metal) hypervisor. It is a virtualisation platform that allows us to create virtual machines (VMs), containers using LXC, and perform backups.
There are 3 main components:
- Proxmox Virtual Environment (PVE) - The main platform used.
- Proxmox Backup Server (PBS) - An optional platform that integrates backups with PVE.
- Proxmox Datacentre Manager (PBM) - If there are multiple Proxmox nodes, they can be centrally managed using PBM.
This note will cover the installation steps of Proxmox Virtual Environment (PVE). The version of PVE used will be 9.2 as this is the latest version as of writing this note.
Important note: Ensure that virtualisation is enabled in the BIOS. For Intel CPUs, the setting will be named Intel VT-x. For AMD CPUs, the setting will be named AMD-V.
Installation Steps
To install Proxmox, the image file can be downloaded from the official website.
https://www.proxmox.com/en/
https://www.proxmox.com/en/downloads/proxmox-virtual-environment
Once the image has been downloaded and loaded onto the system that you want Proxmox to be installed on, we will be presented the following screen. To make the process simple, it is recommended to use the graphical option.
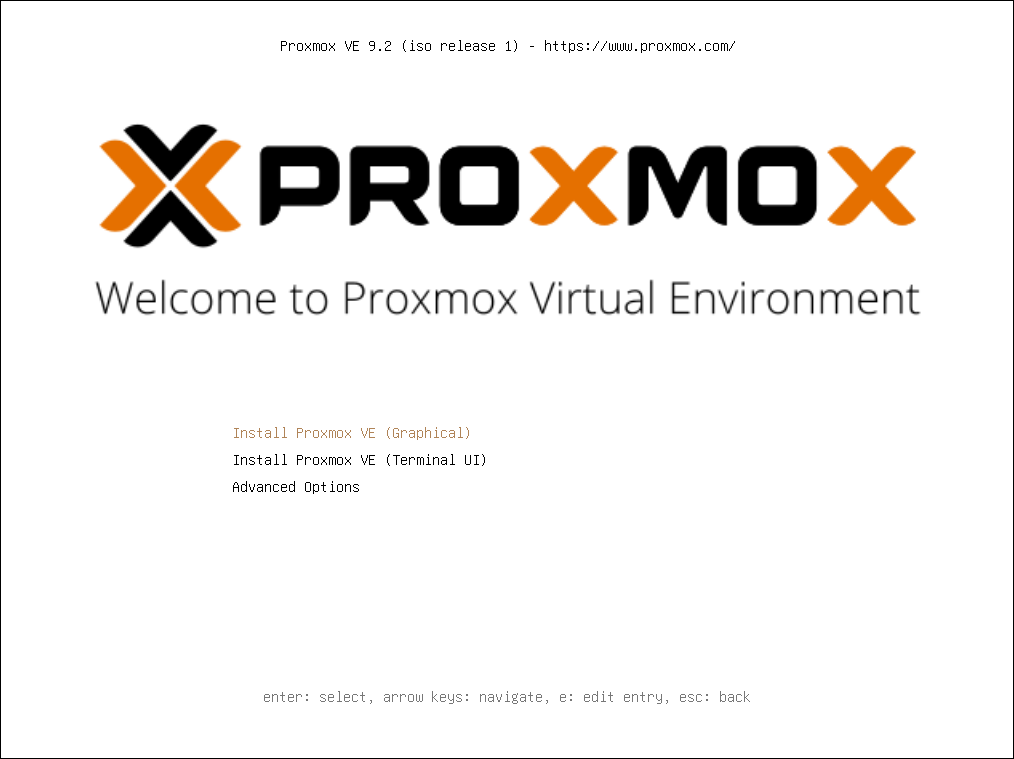
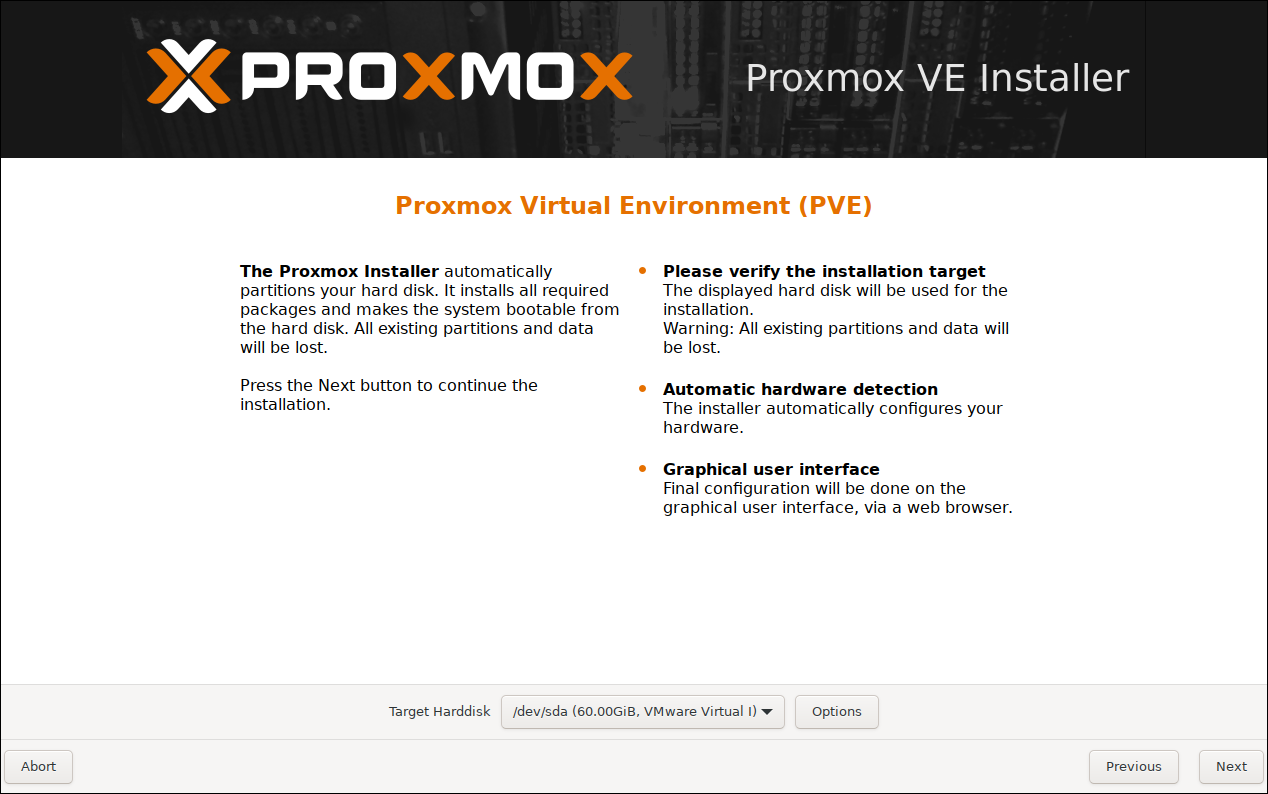
Once the option has been selected and the EULA has been accepted, we will be prompted to select a disk to install Proxmox to. Note that this will wipe all data on the disk. Additional disks can be configured to store data once PVE has been installed.
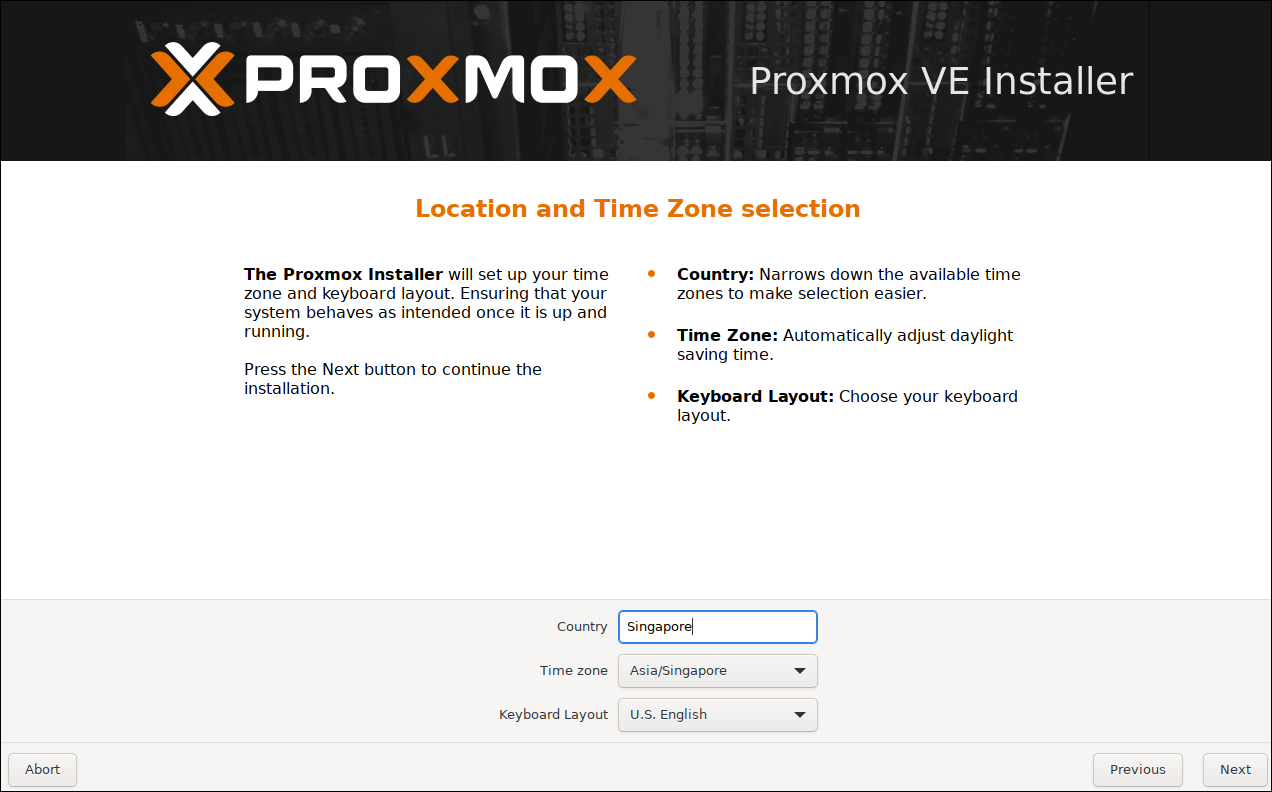
On the "Location and Time Zone Selection" section, input your country and time zone accordingly.
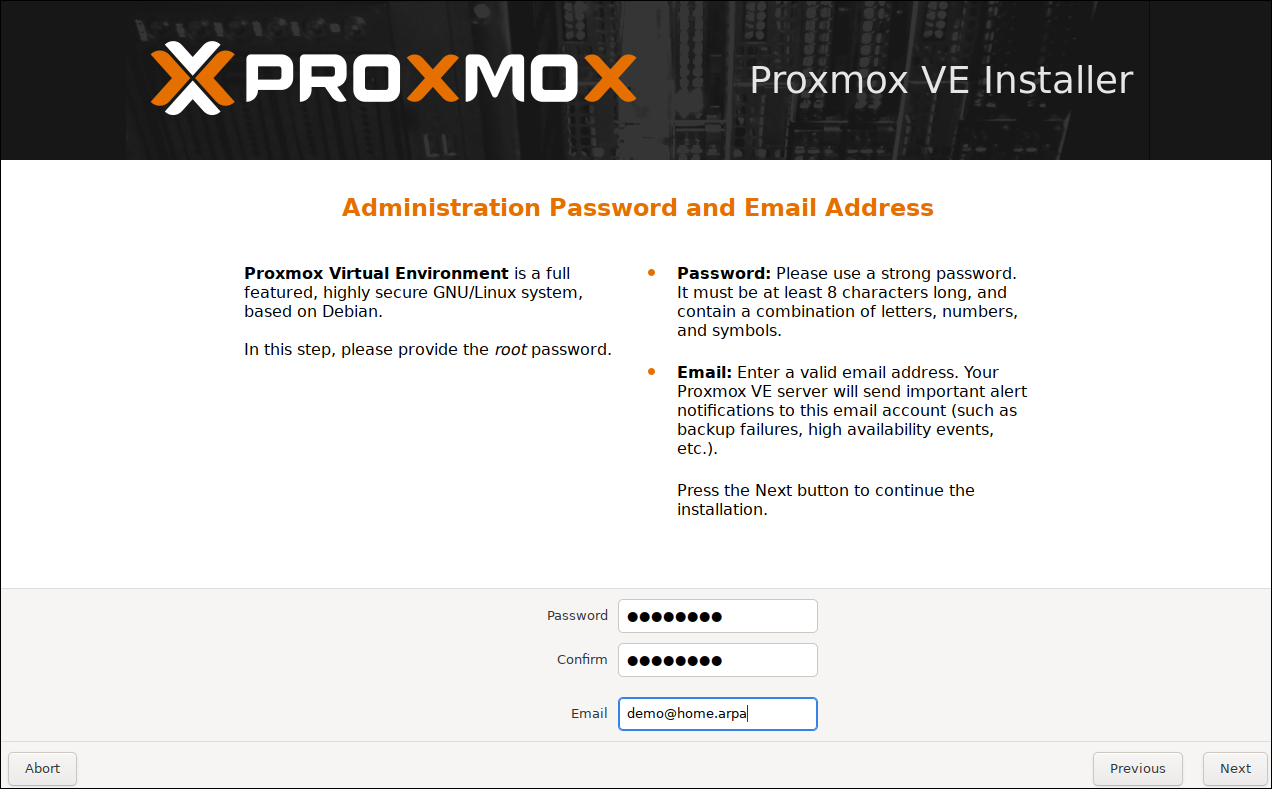
On the "Administration Password and Email Address", enter a password and an email. The password will be used to login into the web UI and the email address will be used to send notifications if configured.
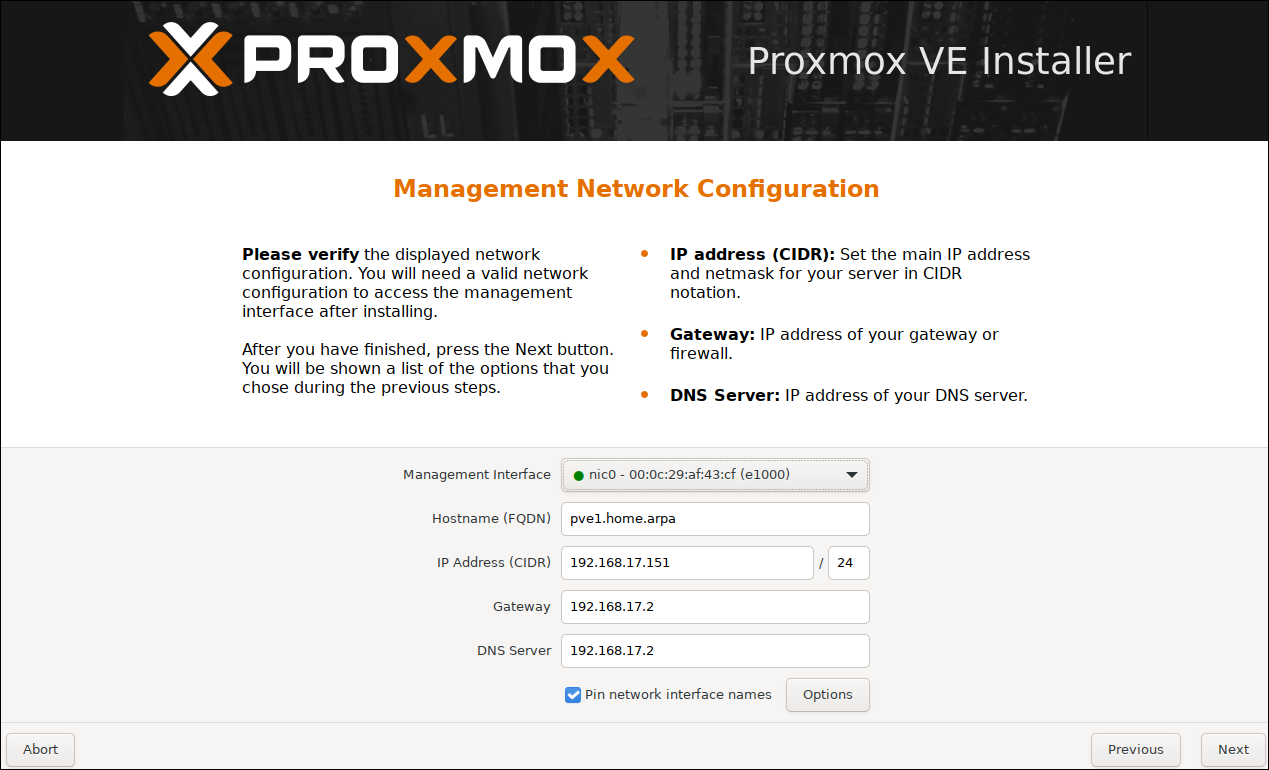
On the "Management Network Configuration" section, ensure that the IP address is valid and reachable in order to access the web UI. The FQDN will be the hostname of the host.
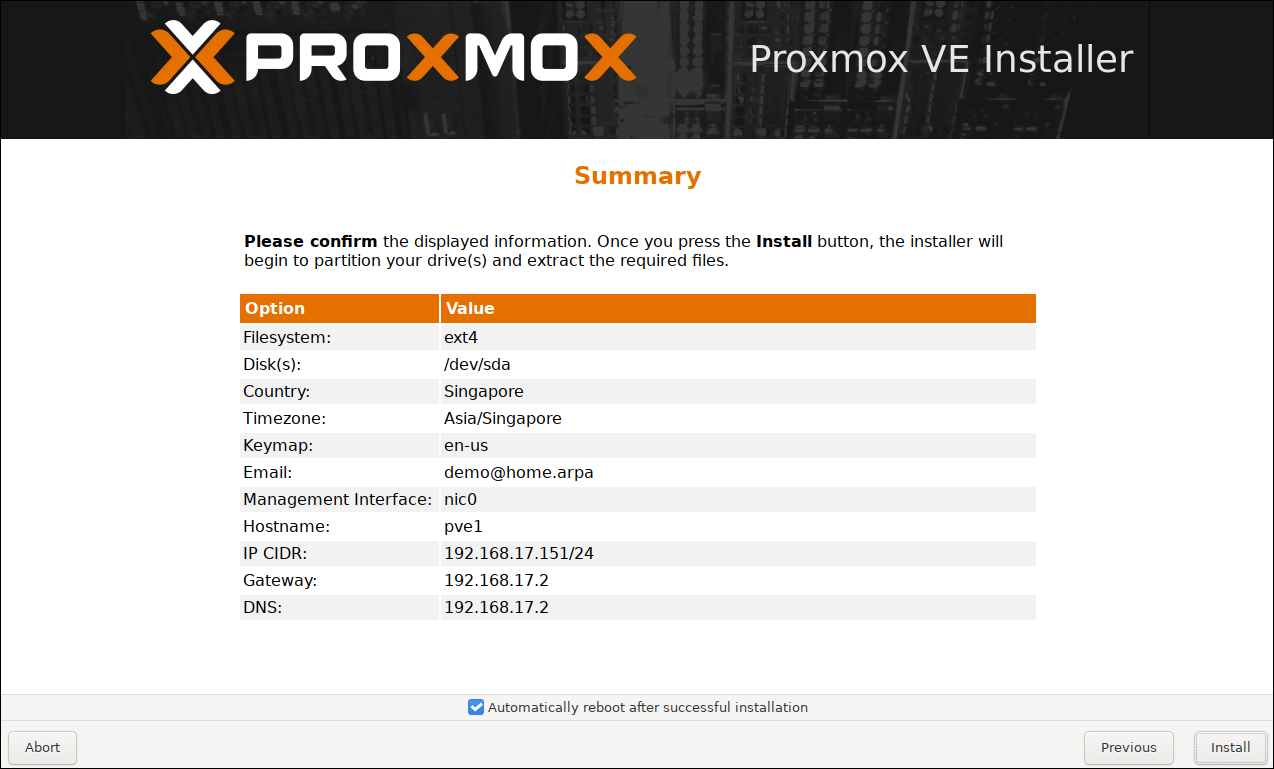
Once everything has been configured, we will be presented a summary before installation.
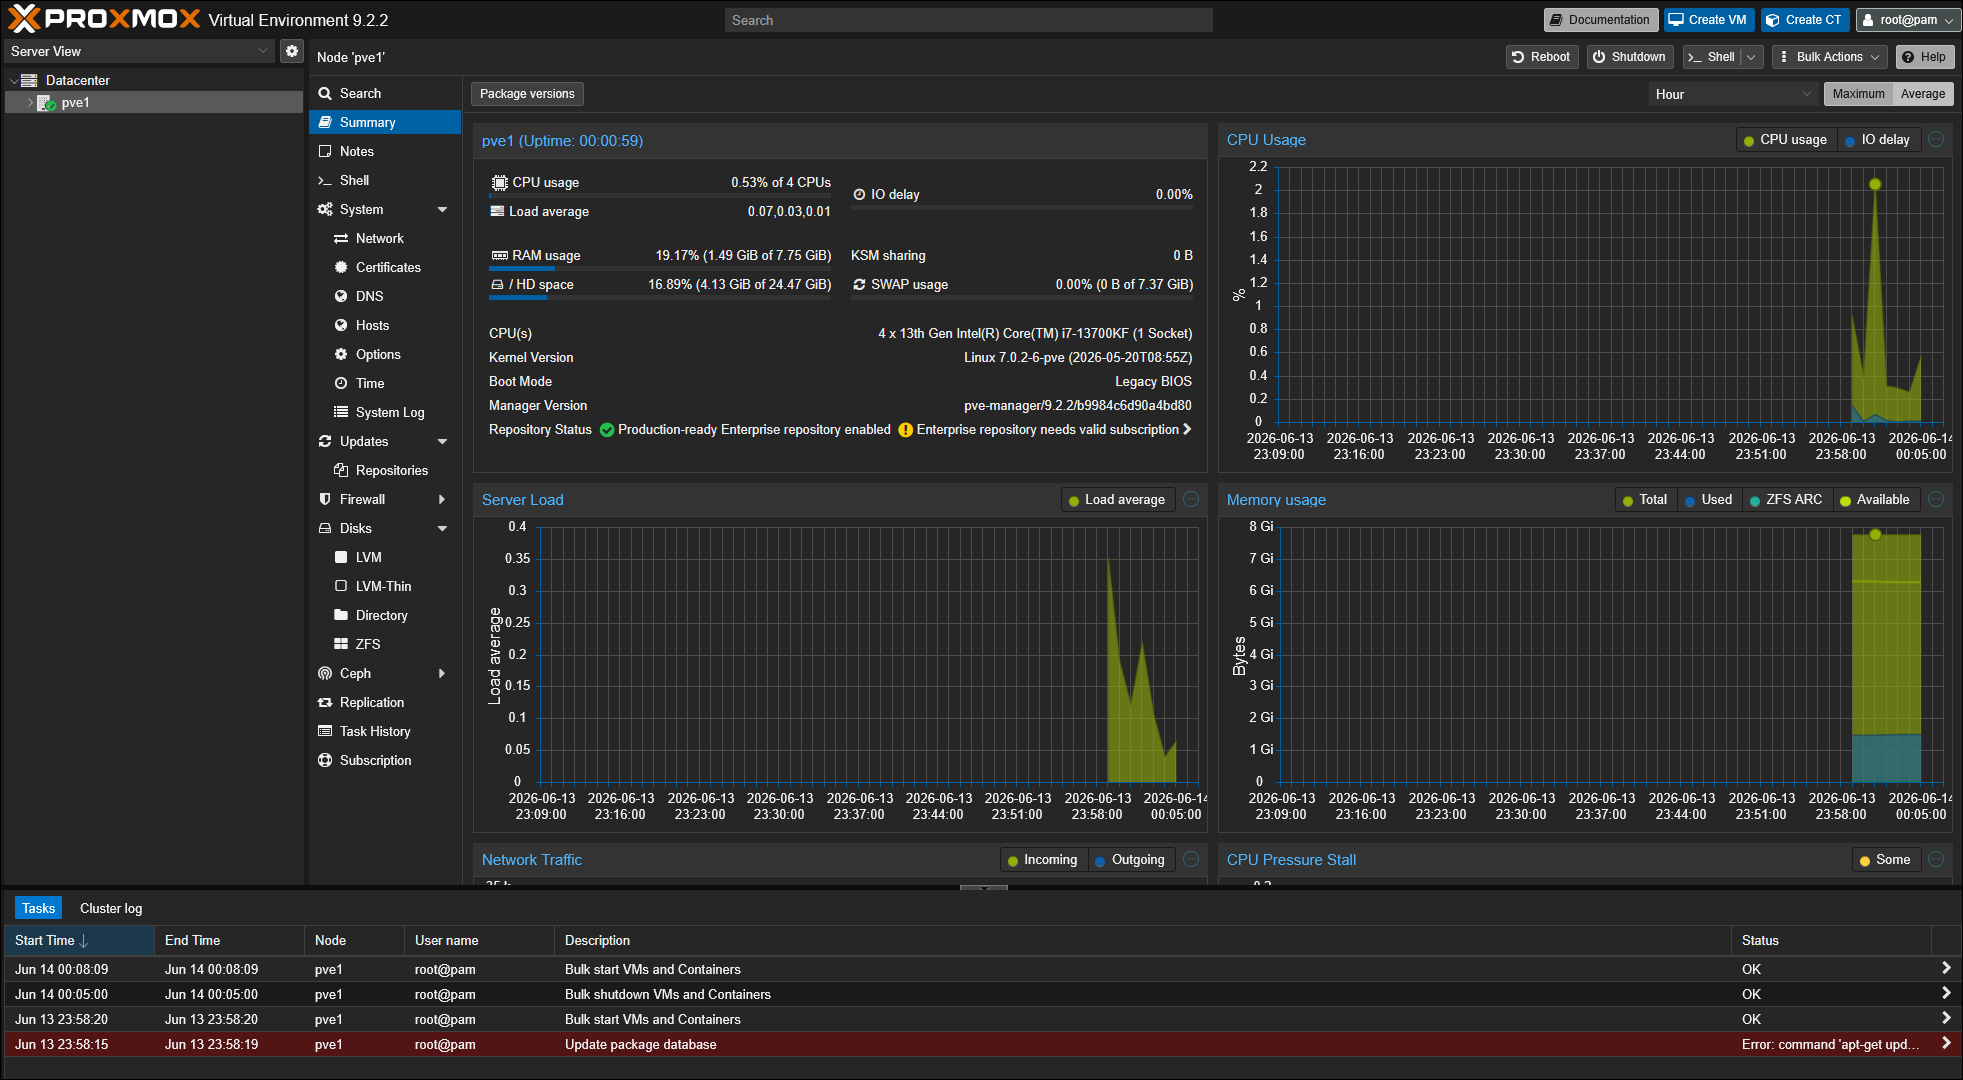
Once installed, Proxmox web UI can be accessed by navigating to port 8006:
https://<ip>:8006
https://<FQDN>:8006
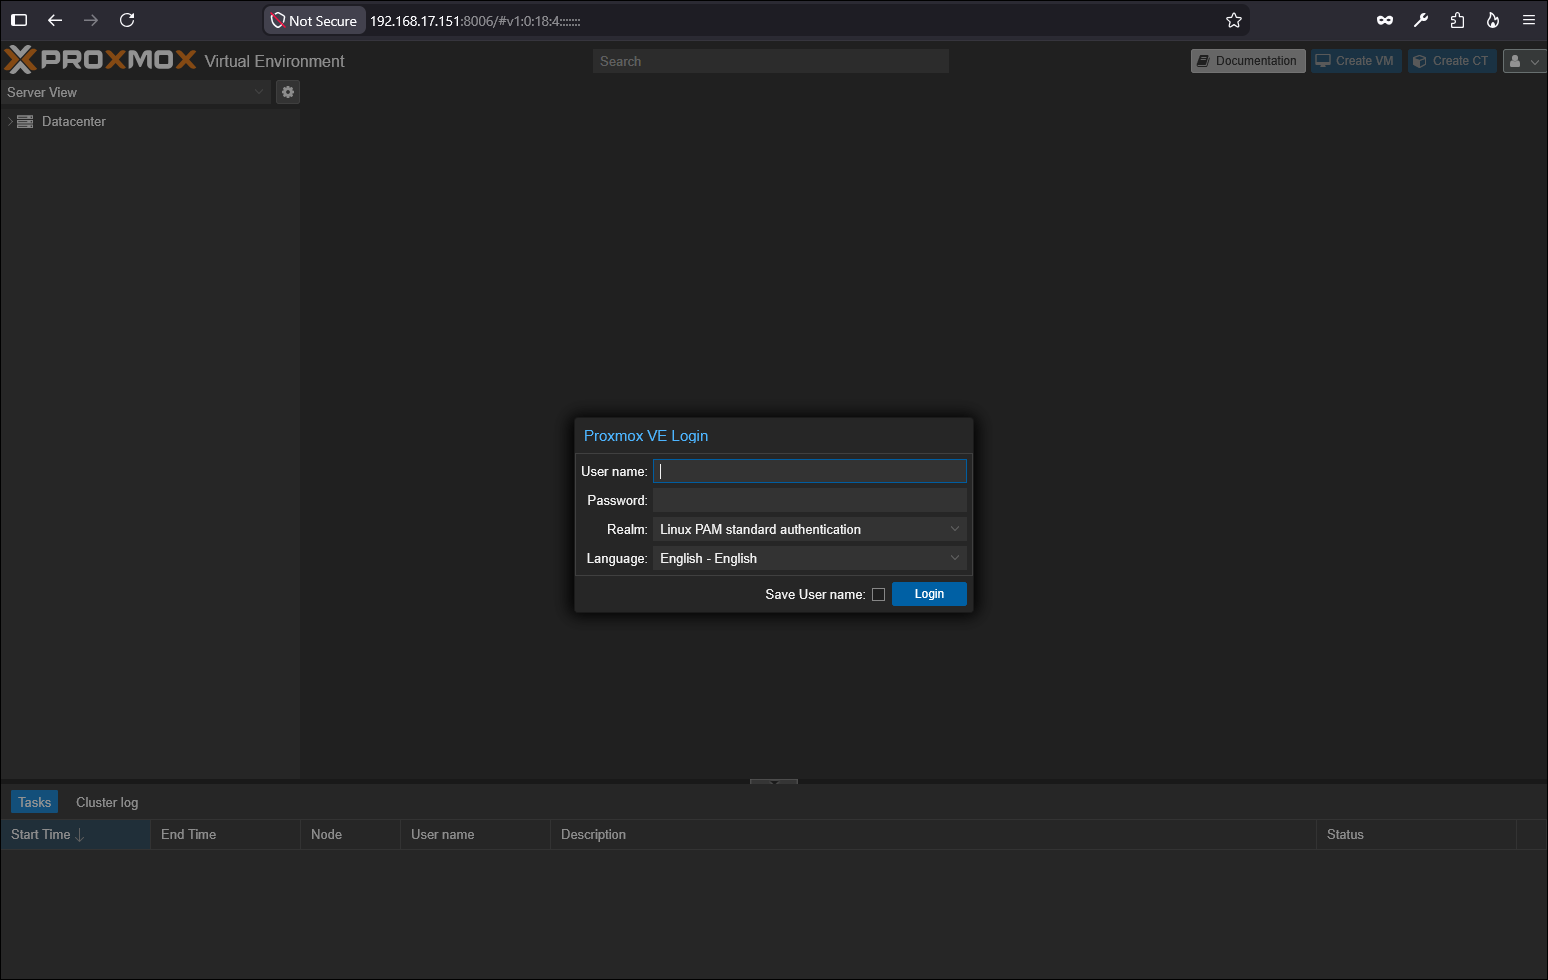
To login, use root as the username and the password set earlier during the setup. Proxmox uses the root user by default.