Recovering Deleted Files (Basic) Using Autopsy
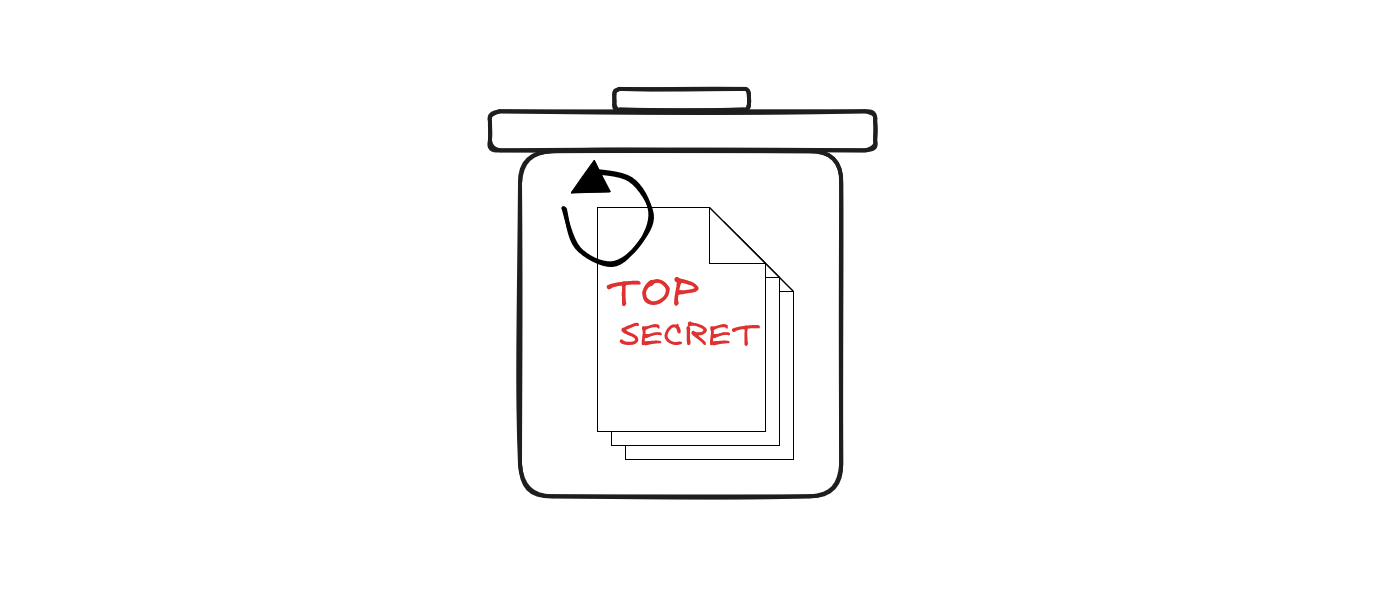
When performing digital forensics, we may need to recover deleted files for further investigation.
This blog will cover a basic method to recover deleted files from a disk image using a tool called Autopsy.

A disk image file is a file that contains a bit-by-bit copy of a disk drive. This includes metadata in a single file, files stored, deleted files, and more. By creating a disk image file, this allows us to work on it (e.g. collecting evidence) without modifying the original copy.
Autopsy is a Digital Forensics tool. It allows us to perform actions such as file recovery.
How a File is Deleted
On a typical filesystem, when a file is deleted, it will only delete the file's reference, making the space that was previously occupied available without actually deleting the file.
An example is where the reference to a page of a book is removed from the table of contents while the actual page is still intact.
When clearing the trash/recycle bin, it only "permanently" removes the file reference information while the actual file data is still on the disk with the space used seen as available to the filesystem, allowing the OS to overwrite the old file with new data.
If someone has a bit-by-bit copy of the storage device, it is possible for them to recover any deleted data (assuming it hasn't been overwritten) from the disk.
More on how to ensure a file is properly deleted at the last section.
Creating a New Case in Autopsy
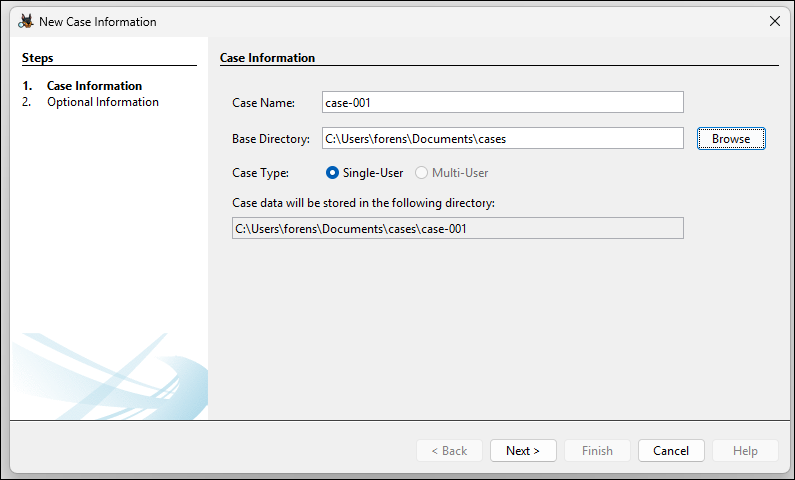
Before files can be recovered from our disk image, we will need to first create a case in Autopsy. This is where all the data from the investigation will be saved to.
To start, We can use the default options and providing the necessary information where required.
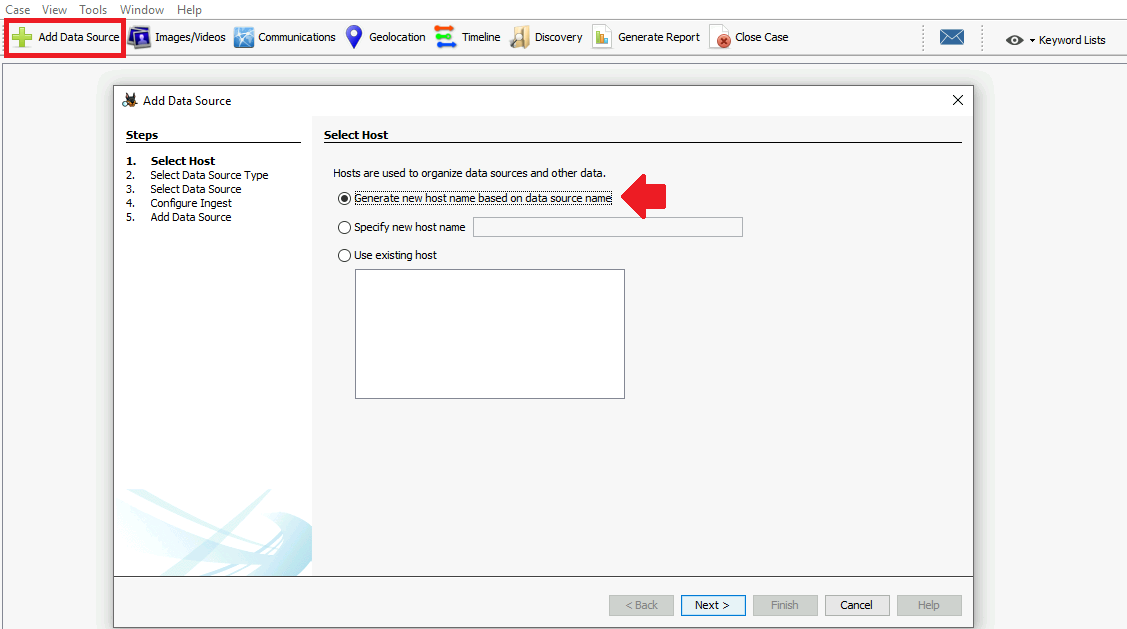
Once the case has been created, click the "Add Data Source" button on the top left to add a source. In this example, it will be a disk image. Autopsy can generate a new host name unless there is a specified host to use.
On the "Select Data Source Type" screen, we can select Disk Image or VM File as this section will be focused on using a disk image.
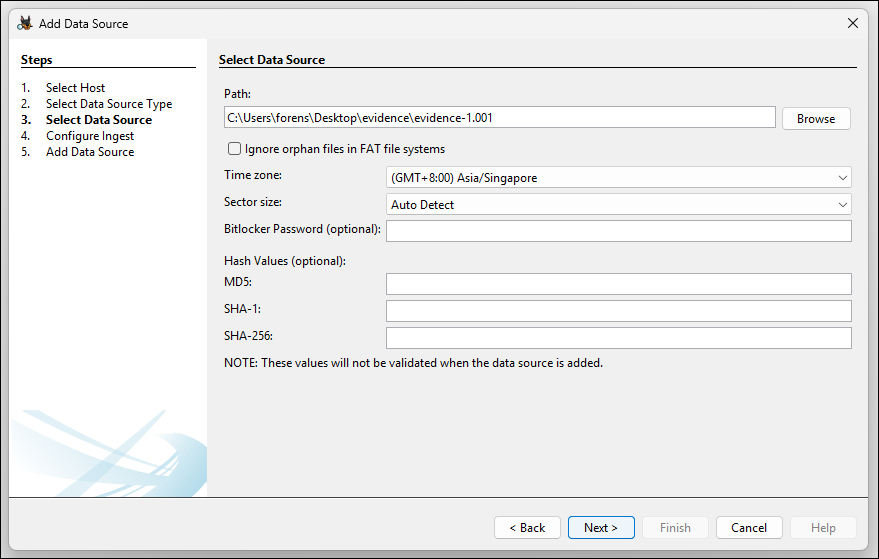
Once selected, we can provide the path to the disk image to use, set the time zone, and optionally provide the hash values of the specified disk image.
On the "Configure Ingest" screen, we can optionally select (or deselect) the ingest modules. This example will be deselecting all options.
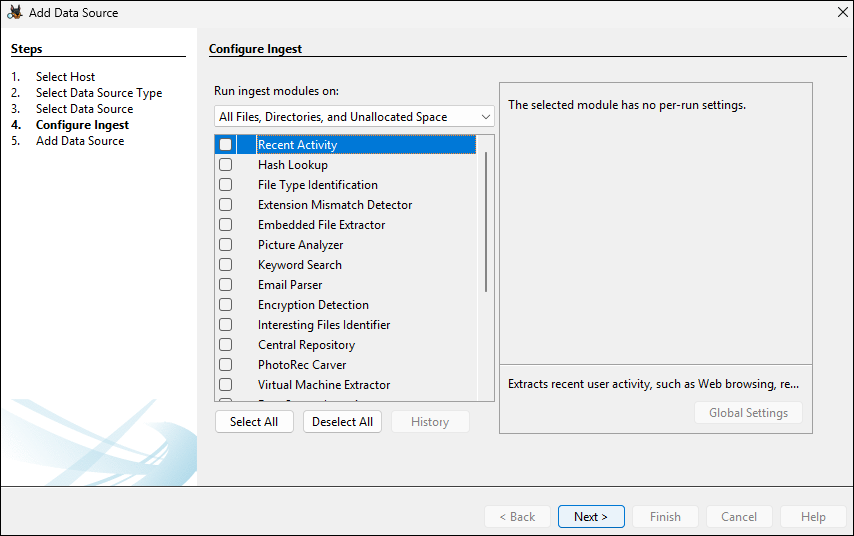
Note: Depending on the hardware, size of the case, and number of options selected during the previous screen, it may take a long time.
Recovering Deleted Files
Once the data disk file has been added, we can view the data sources. Selecting the disk image, we can identify deleted files if there is a red cross in its image.
Alternatively, we can use the "Deleted Files" section to view all detected deleted files.
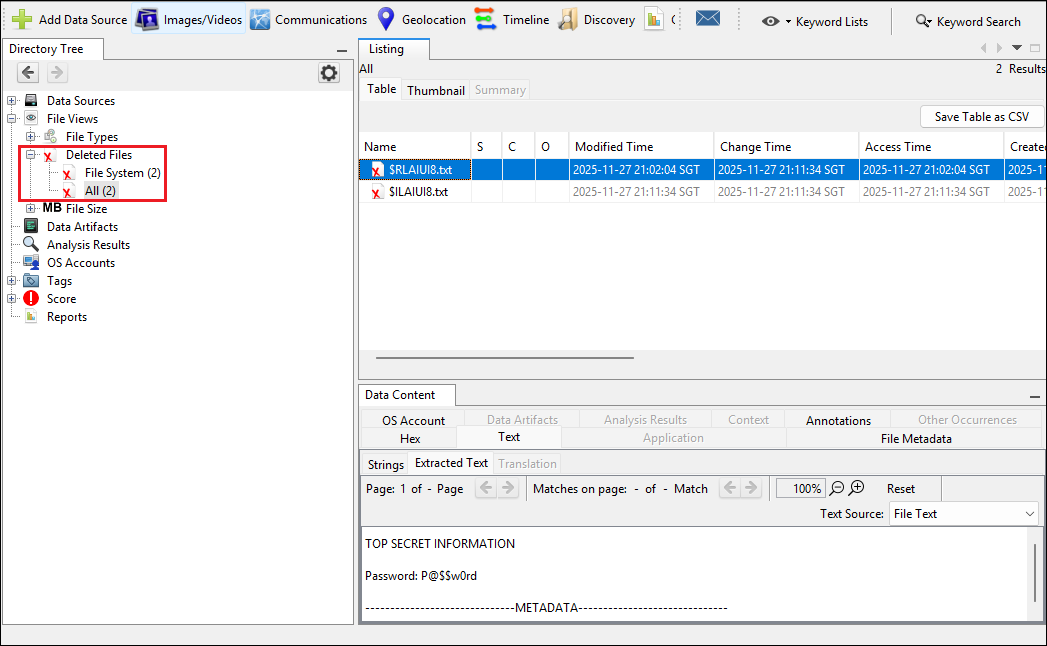
To recover the deleted files, we can right click the file to recover and select the "Extract File(s)" option.
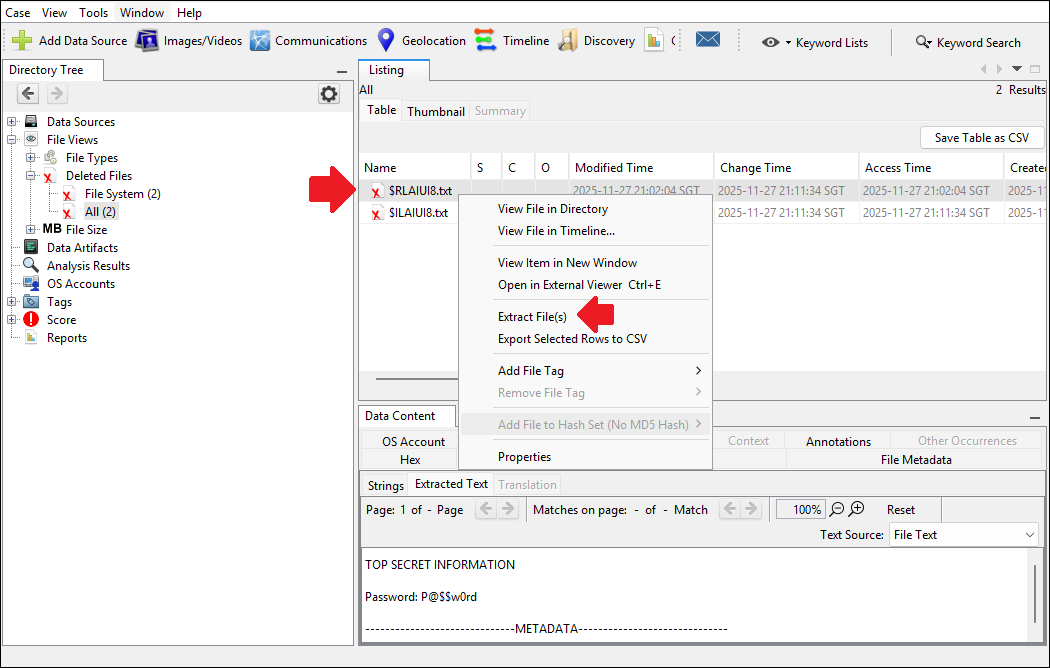
Once a path to extract the file to has been provided, we can extract the file and view its contents normally (e.g. notepad for .txt files) or perform further analysis.
Depending on the file type, Autopsy can display the contents of the file (e.g., text within a .txt file).
Permanently Deleting Files
There are several methods to ensure that files are properly deleted, depending on the storage device type (e.g., HDD, SSD).
For hard disks, tools such as diskpart on Windows or DBAN can be used to securely delete data by "zeroing" which basically overwrites the hard drive (or specific location of a file) with 1s and 0s. This makes it so that old files are unrecoverable.
For flash based storage such as SSDs, zeroing is not an option due to wear levelling and may degrade the SSD lifespan faster. Instead, tools such as ATA Secure Erase can be used to securely erase data on SSDs.